Tag Archives: Birthday Shirt

Easy DIY Birthday Shirt – Video Tutorial

I know that I have shared a DIY Birthday Shirt with you before in a blog post. This time, I decided to do a video tutorial. I hope you see how easy this is, even if you are brand new to sewing. This shirt is great for kid’s birthdays or as a photo prop. You can even make them as gag gifts for adults. You can make the shirt for under $5!

Beyond the birthday theme, you can applique them with letters, symbols, animals objects and more. Watch the video below to get all the details.

Let me know what you think, and if you try this, I would love to hear about your results.


4 Comments

Filed under Crafts

How To Make An Adorable Applique Birthday Shirt!!! Easy and Quick Project!

I like to have birthday shirts for my kids and take a picture of them in it on their actual birthday.  A few years ago I made one but most of the time I buy them. However, after the success I had with the Christmas shirts, I decided to try and make an applique birthday shirt for my son.  It was so easy and looked great!  If you would like to try, you can follow the easy tutorial here.

DIY Birthday Shirt Collage

Supplies:

  • Plain Shirt- short or long sleeve
  • Material- small amount for number
  • Number Template- easy to find online
  • Scissors-Craft and Fabric
  • Thread to coordinate with number fabric and shirt
  • Sewable Heat Bond
  • Iron
  • Straight Pins
  • Sewing Machine with Applique Stitch or you can Zig Zag.

Prep:

Make sure to wash your fabric and shirt before starting and then iron.


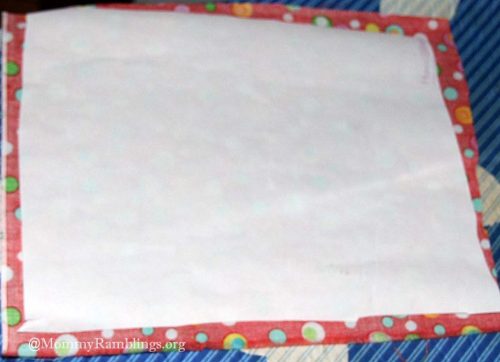
1. Cut some fabric for your number

bday shirt 1

2. Cut a piece of sewable heat bond and iron it on the back side of the fabric.  **Remember when cutting the sewable heat bond or the fabric that has it ironed on, never use your fabric scissors!  You will ruin them.  Always use your craft scissors when cutting anything with heat bond.

bday shirt 2


bday shirt 3


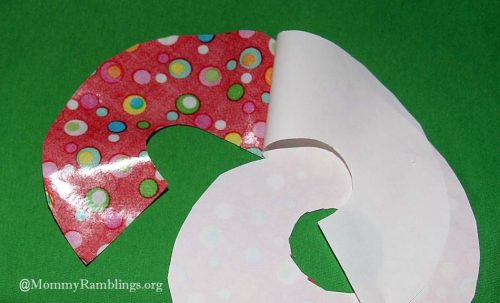
3. Place the number template on the front side of the fabric, pin and cut.

bday shirt 4

4. Remove the heat bond paper backing from the number,  the nice shiny texture will allow you to iron the number on and hold it securely to sew.

bday shirt 6

bday shirt 7


bday shirt 5

5. Iron the number on the shirt.

bday shirt 8


6.Take the shirt over to your machine and use an applique stitch around the edges

bday shirt 10


7.Trim the loose threads and iron the shirt and you are finished.

bday shirt 11

Please share with me if you try this.  I would love to see and hear about your creations.


9 Comments

Filed under DIY, Giveaway

No Sew DIY Birthday Shirt #2!!!

Okay, back again with some enhancements on the birthday shirt.  Someone pointed out in my last post that I had the peace signs upside down on my last example.  Well, a perfectionist like myself could not let that stay that way, and while remaking the shirt, I made some other changes.  Whichever shirt you decide to make, if you do make one, your child will love it!

I used the same t-shirt, ultra hold and peace sign accent fabric.  I added some iron on letters for his name and then I also added six stars for another way to show he is 6 and of course a super star!  I have really liked making the shirts and I have lots of ideas for more and want to add some decorative outline stitching with my new sewing machine and you can expect to see a lot more examples of unique and fun kid’s shirts in the future.

bdayshirt

bdayshirt1


bdayshirt3


bdayshirt4


bdayshirt5


bdayshirt6


bdayshirt7

bdayshirt8


Love to hear your comments and about some creations that you have made!  We love comments!!!


Leave a Comment

Filed under Uncategorized

DIY No Sew Birthday Shirt!!!

If you are looking for a super easy and inexpensive way to add fun and great memories to your child’s birthday, you will like this.   To make this shirt you will need a plain t-shirt.  I found some inexpensive Hanes Beefy T-Shirts , some fabric and heat n bond ultra.

Next, you can search on Google for a number template and print that out, then pin it to the fabric and cut it out.  Apply the fabric to the backing and then peel the paper liner off.

bdshirt

bdshirt1

bdshirt2

bdshirt3

Now you will have an iron on applique you just need to iron on your T-Shirt.  After ironing on the number you are all done.  Fast, easy and so fun for the birthday girl or boy!

bdshirt4

bdshirt5

What do you think of the finished project? We added some enhancements, check it out HERE. Check out my other Birthday Shirt Tutorial Post for another version.

bdshirt6


3 Comments

Filed under Uncategorized